


After sharing those other shirt tutorials this past month, I finally got around this month to actually making me a new shirt...Actually what happened was my husband took the boys on a church father and sons camp out and that means I had all night to sew me a shirt.
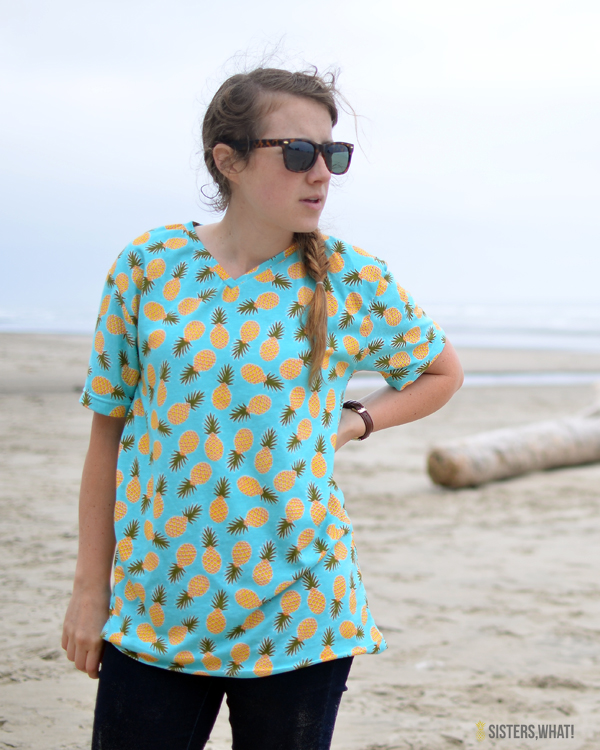
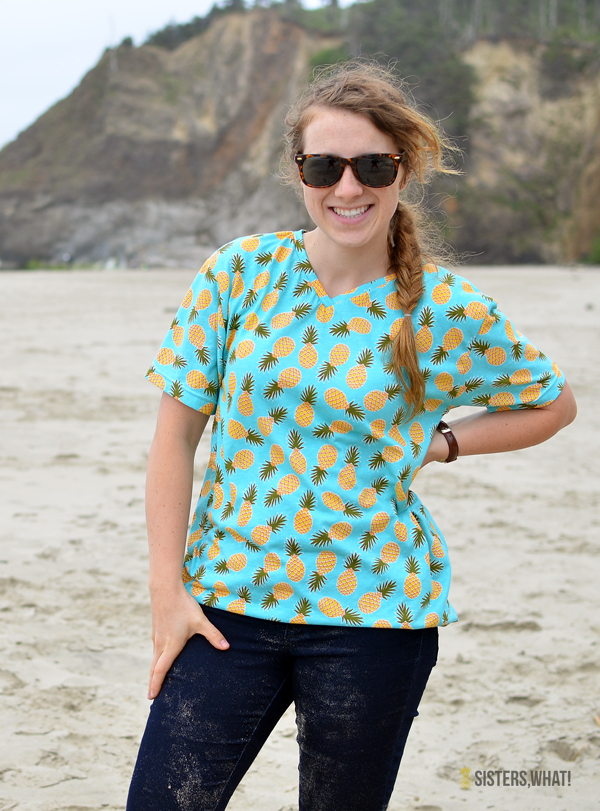
I ordered a while back this Pineapple Fabric from Girl Charlee and have been waiting for a chance to make a shirt. I decided to try to make a v neck for the first time ever. It was so much easier than I thought and it looks like a store bought (always bonus for me).
I used one of my loose fitting v necks shirts as a patterned (since I wanted a loose style for this pineapple fabric) and afterwards my husband told me they looked like nurse scrubs. And...he is totally right, but I really don't care because it has pineapples on it and it is seriously SOOO comfy!! The perfect summer vacay kinda shirt (along with my favorite DIY Dolman Tees)
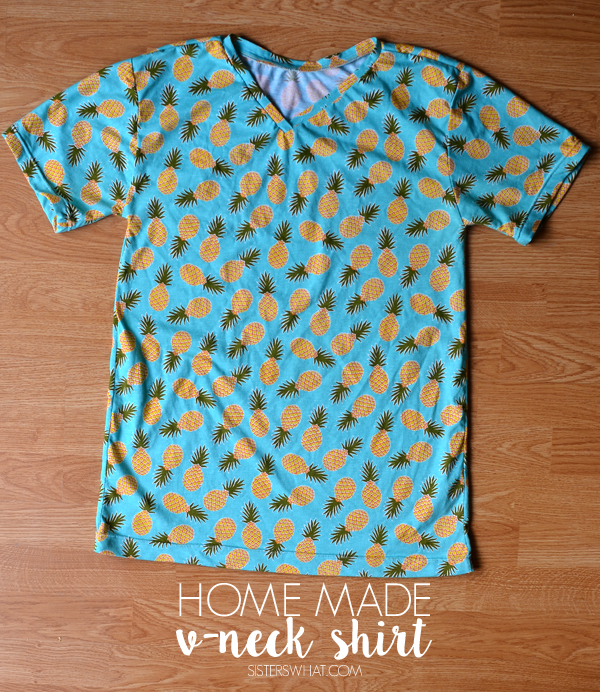
DIY Home Made V - Neck Shirt
**Ok, Let's be honest real quick. I'm going to give you a run down of how I made this shirt, but I apologize now for my small amount of detailed pictures. It was night time when I sewed this and my sister surprised me and distracted me the whole time ; ). But, I'll do my best to share my process. Please leave any comment if you are at all confused.
Supplies:
- 1 1/2 Knit Fabric - 1 yard usually works for me, but I always get a little more just in case.
- Fabric Scissors (my absolute favorite)
- Serger (optional)
1|| Grab your favorite tee and lay it on your shirt (we're doing a similar thing as my DIY Dolman Tee). Remember your a seam allowance when cutting(I like to do 1/2 inch) and carefully cut your fabric out around your shirt. *if you would prefer, you can trace your shirt onto butcher or freezer paper first then that will be your pattern. Not pictured, but tuck your arms into the shirt and cut an out line of your shirt without sleeves. But you still need to cut where the arm holes will be. You need a back and a front. Cut a v for your neck line to match another shirt. If you don't have V neck to go off, then just cut a little off to what you feel comfortable with.
2|| Similar to the dolman, we're going to sew the front and back shoulders together right sides touching. Lay it open and prepare for attaching sleeves.

3|| Now for the sleeves, This shirt is very similar to the dolman but a lot looser fit. But in this instance I placed a piece of paper on top of my sleeves and roughly traced the sleeve to make a simple pattern. Then I used that pattern for my sleeve. (sorry I don't have a picture of this). Once you have two sleeves cut out, were going to place it on the open shirt sleeve hole and sew it to each side of the shirt sleeves. Does that make sense? It will all come together in the next step when we sew the sides up.

4|| Now right sides together, start with one sleeve and sew the shirt together. Do both sides. Once you like the fit, serge or finish the edges with a cover stitch.

5|| Now it's time to hem the sleeves and bottom of the shirt. If you choose, use your double needle now. When I hem, I like to fold it up about an 1 inch and iron in place. Ironing helps keep the fabric from moving.

6|| V neck neckline: I'm going to pass this one on to a more detailed tutorial by the Sewing Rabbit. She is far more experienced and has great pictures. Go HERE

And jump for joy because you made yourself a new shirt. Woo Hoo!!


You may also like:


No comments
We LOVE hearing what you think. Thank you for your sweet comments!