
This post may contain affiliate links. Thanks for supporting Sisters, What!

It was my daughters birthday and she really wanted a play cake. Last year her dad told her he could totally make one out of wood. She held on to that idea all year and asked if he would make her one for her birthday. Well, time was running out and he didn't have time. He told me that I should just buy one because they are so cheap. But, I had already hatched an idea in my head and we had so much scrap wood in our house. Plus, we've been trying to buy less for our kids and do more homemade type of gifts. Also, we have so much scrap wood that needs to be used and this project fit with our DIY style.


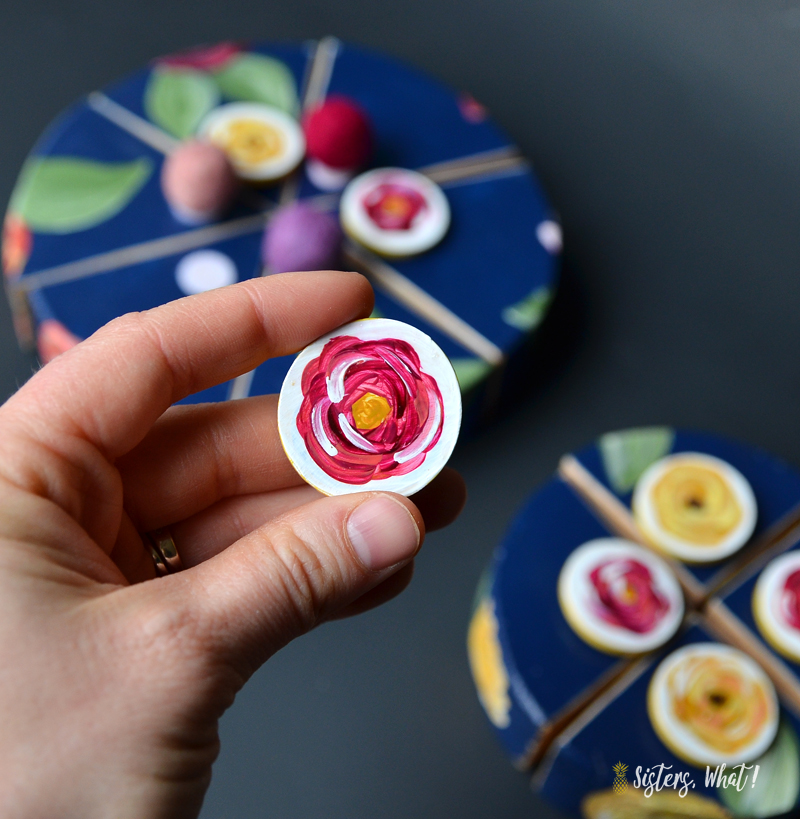
Now painting it was definitely my favorite part!! I had tested painting flowers on a canvas (see here) before doing it on her actual cake. The flowers are so much easier to paint than they look. I would love to share a tutorial on here so more people can learn to paint them, so stay tuned.

The next thing she really wanted was a tea set. I didn't want to get her a cheap one that could break but didn't want to spend a lot. I scoured goodwill for wood cups and plates (to paint) but just couldn't find anything at all. Finally I found a used tea set on amazon for a great price (but it was still in perfect condition). The original tea set was cute, but I thought it'd be really fun if the tea set matched her cake.


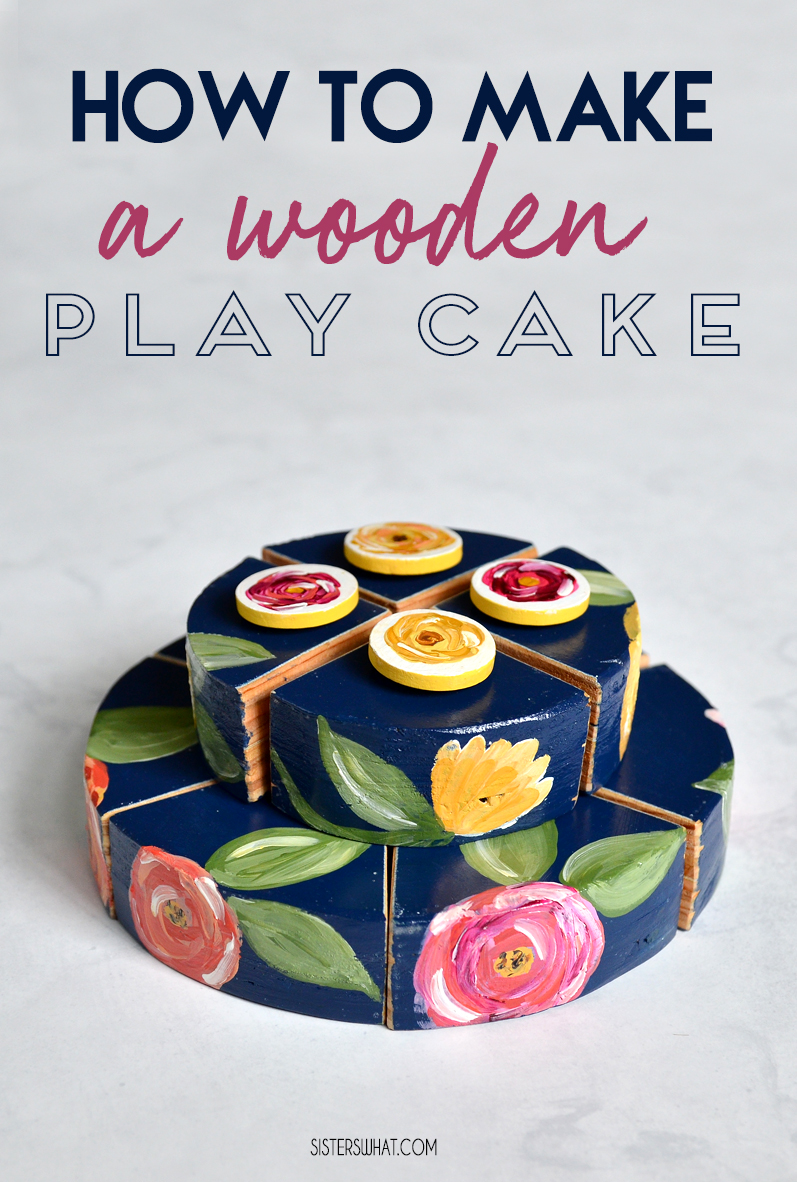
How to Make a Wooden Play Cake
Supplies:
- 3/4" Scrap Plywood or a 1x4 x Scraps
- Jigsaw
- Drill
- Forstner bit or a regular spade drill bit works fine too (that's what we ended up using
- 5/8" velcro circles
Step 1: Prep work.
Cuts needed:
Large bottom cake: 2 circles
Small top cake: 2 smaller circles
Decide how big you want your cake. Since I did a layered cake, I did a larger circle and then a smaller circle to fit on top. Find a bow to fit your circle sizes. Since this is a play cake, you can probably find a couple in the kitchen for both sizes.
Step 2: Cut Wood
To make cutting easier, use clamps and clamp your wood to a stable surface. Clamp one end (that you're not cutting) to the surface you're using to stabilize, and have the other end your cutting hanging over. This will help keep things secure while you cut. Then slowly cut out wood with jigsaw. Take it slowly as you turn so it can keep it smooth.

Step 3: Glue layers together
now we're going to glue the large two circles together and then glue the two small circles together to each other. Please note, you are NOT gluing the large circle to the small circles.
Use wood glue and spread the glue between the two layers. Clamp the two layers together and let dry.
Step 4: Cut if needed and sand
Because our jigsaw was subpar as well as my cutting skills, there were some bumps between the two layers wood circles that I just glued together. My husband went through and trimmed off any rough areas and then we sanded the edges down really well with a high grit sand paper.
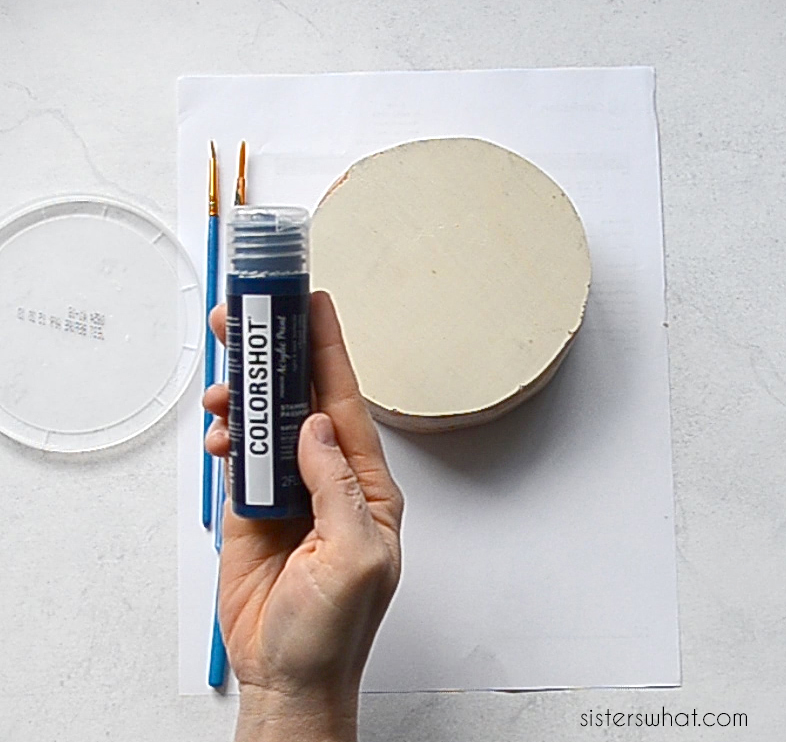
Step 5: Paint Bases
Now take your two cake layers and paint them their base coat color. Add as many bases as you feel it needs and let it dry.
Step 6: Cut cake pieces
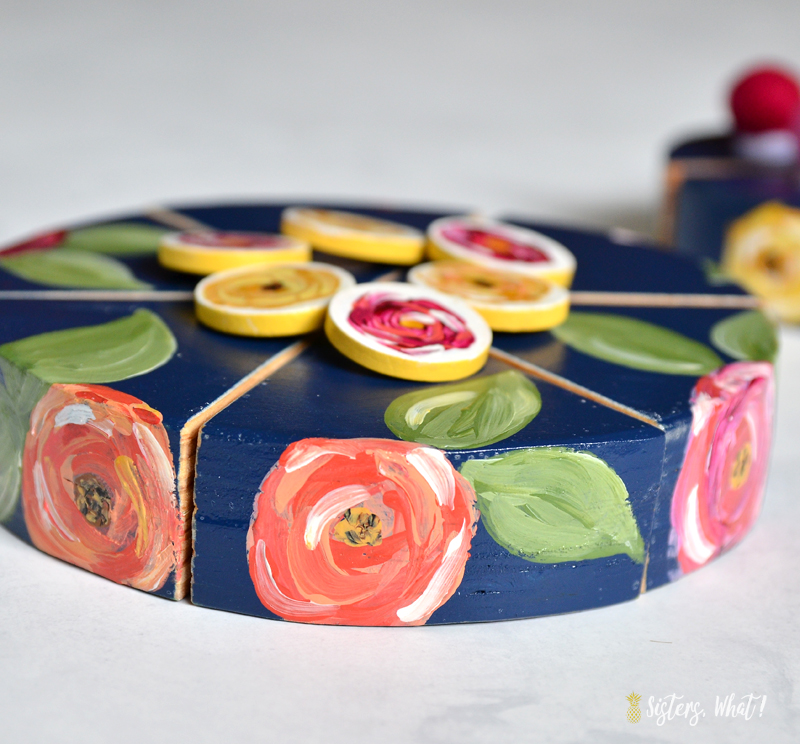
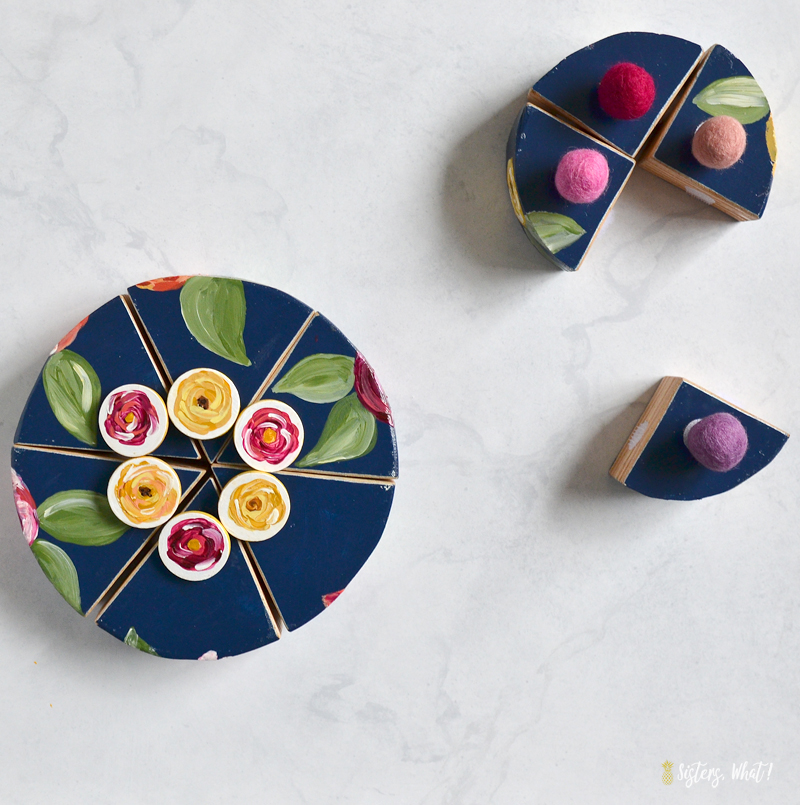
Now we're going to actually cut the cake into it's pieces. Using a protractor ruler, divide your larger cake into 6 sections. The top smaller cake layer do it in 4 sections.
I was planning initially painting the inside after cutting, but I loved the look of the wood, it looked like an actual layered cake.

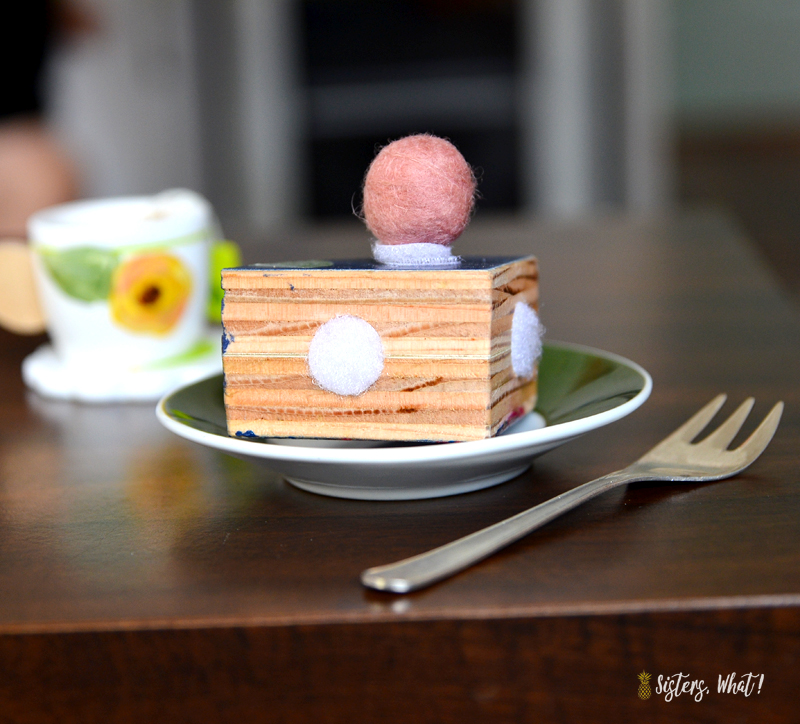
Step 7: Holes for Velcro
To make the holes for the velcro pieces, we used a drill bit the size of the 5/8ths to match the velcro I planed on using. You could opt to just leave the cake without velcro, but it keeps the cake together. We did holes on top for the cake accessories as well.
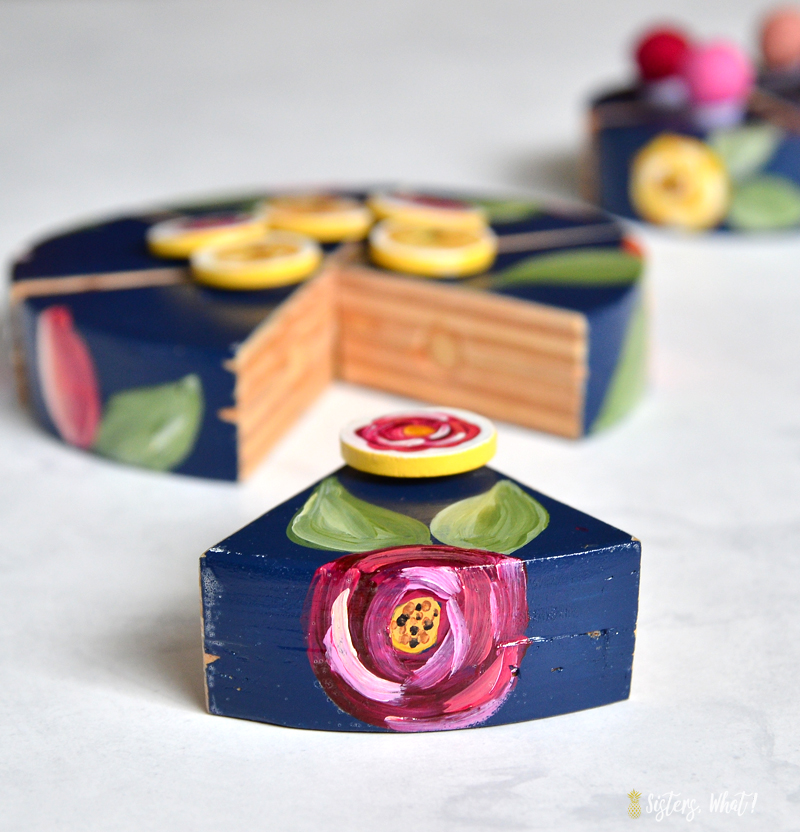
Step 8: Paint Flowers or other design
This is when I stayed up way to late to paint flowers. I will work on a simple tutorial soon to share on here. Painting the flowers was so much easier than I thought it would be and really fun.

Step 9: Seal it
Because I knew this was going to get played with alot, we sealed the whole thing with a coat poly acrylic sealant. Then I glued with E6000 the circle velcro pieces.
And that is literally it! It was a lot of steps, but I was able to do most of it myself, so that says alot!


No comments
We LOVE hearing what you think. Thank you for your sweet comments!