
This farmhouse, pinafore apron is made out of linen with leather as straps. It is easy to make, perfect for a beginner sewist. You can customize with your favorite linen and add contrast pockets.
This is a sponsored post written on behalf of JOANN.com. All words and opinions are mine.

As soon as Christmas was over, I vowed that I would make something for me. Now, I really do love sewing for my kiddos, but sometimes it's nice to not sew for them :). When I saw this Ikat linen from JOANN, I knew immediately that it would make the best linen apron.
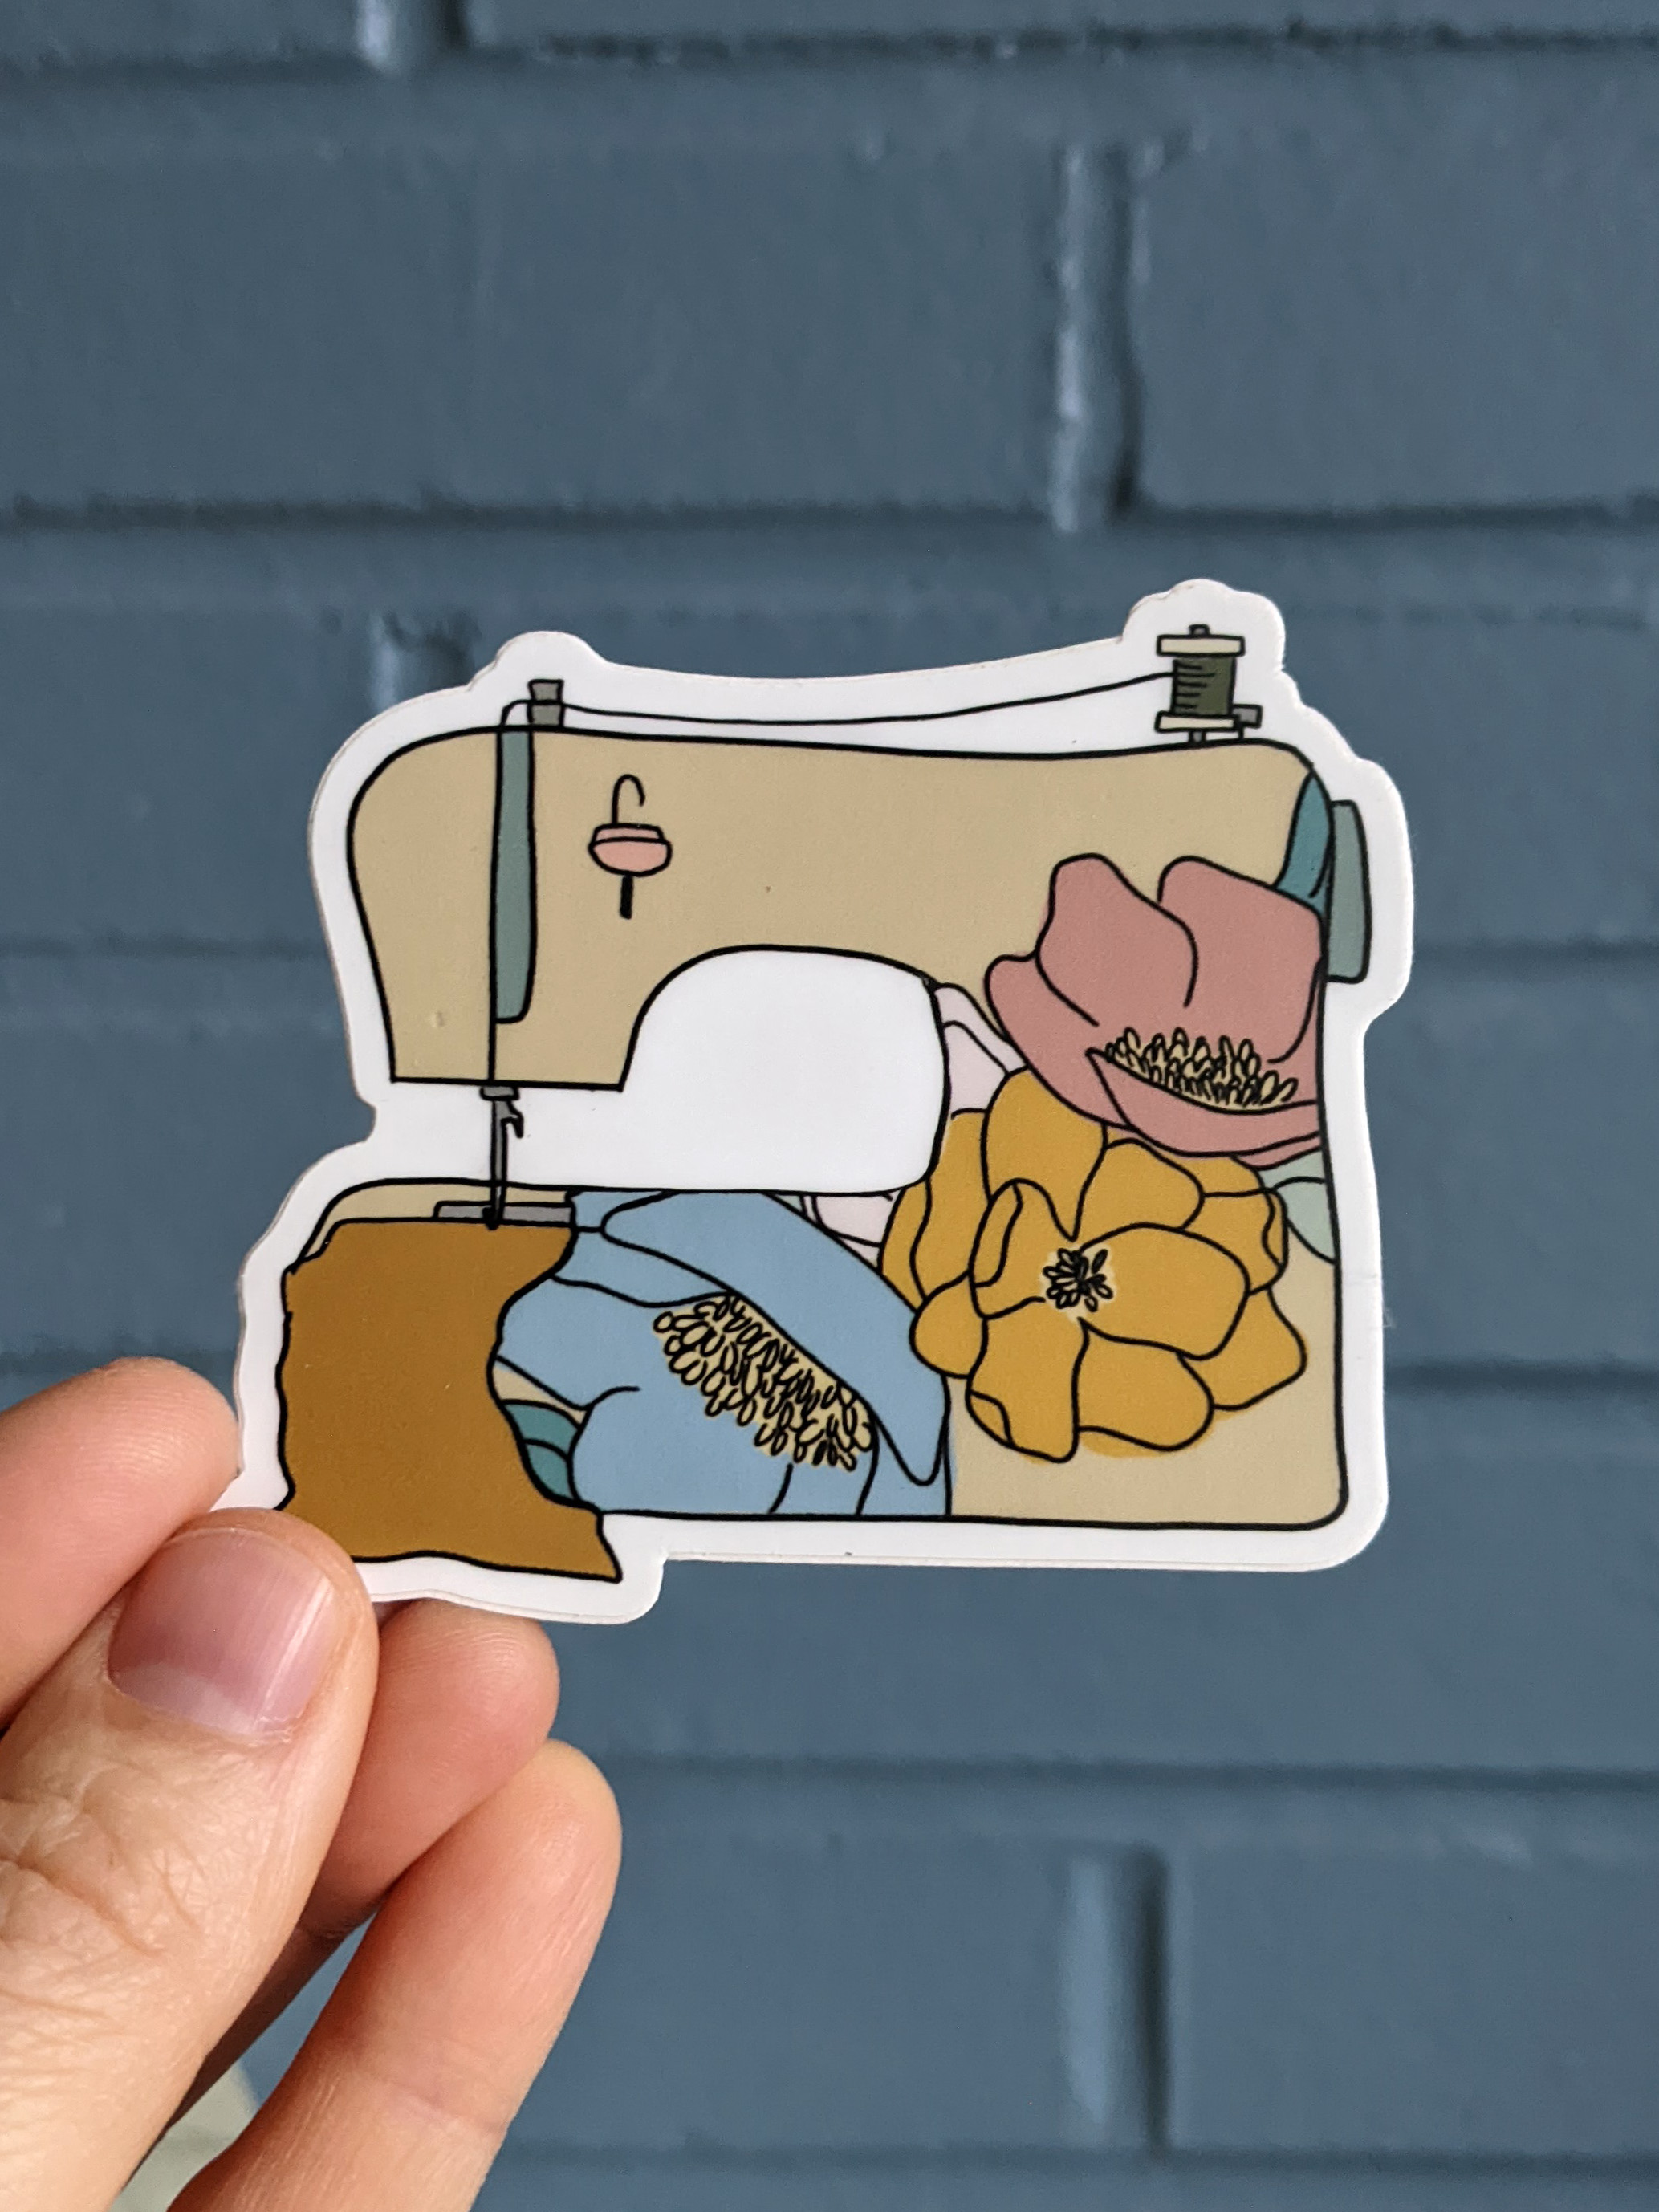
If you like to sew, you make like this floral sewing machine sticker:
You May Also Enjoy:


 It's so comfy, I could wear it all day, and sometimes I do and forget I'm wearing.


 This post may contain affiliate links. Thanks for supporting Sisters, What!

It was just my style and I had some yellow linen left over from my Made Everyday anywhere skirt that I decided to use for contrasting pockets. I can't help it, I love yellow mustard and as pockets it's the best!
So my husband didn't understand why I needed another apron (we have a small collection), but I have been so frustrated with the coverage of all our aprons. Usually my shirts still get dirty while I'm cooking (hey don't judge, yes I'm a messy cook... and person). I wanted an apron that gave me as much coverage as possible. I considered cutting a hole in a sheet, but I decided this would be cuter.
Farmhouse Linen Apron Pattern and Tutorial
Supplies:
- Main Body Linen (I used this Ikat on Navy Linen) or this striped linen would be beautiful favorite fabric - see measurements below
- Linen for pockets (You can find the yellow linen in stores at JOANN)
- *optional - Contrast faux leather or real leather scraps for straps
*Please note there is no digital or physical pattern included. This is because of the nature of the design. All rectangles make it easy to measure cut without needing an actual physical pattern.
BEFORE CUTTING
The main apron body size: Please note that I'm 5' tall so this is probably a size small. I would suggest for a medium size add 4" to height (so 32" + 4) for a large add 6" (32" +6).
But what I strongly recommend is measuring from your armpit to where you want the apron to go to (maybe at the knee or above the knee). Then add 3" to that number.
Straps: I included the size for a small size. Like above, I would add 2" to the length (for medium) and 4" to the length (for large). However, I recommend making it longer than you think you need it and pin it on to figure out the fit for you. It's always better to have custom made clothing and this apron is easy to do that with.
Also with the straps. If you want to do a contrast faux leather or leather strap, then cut 2 linen at 21" x 5". But if you just want them to be all line, then cut 21" x 10"
Step 1: Press and Sew Main Body
First take your main body and turn the sides in 1/2" and press. Then turn again another 1/2" and press. Top stitch. Now do the same with the bottom seam. For the top seam, turn 1/2" press and then turn 1" and press then stitch.
Step 2: Sew the Straps
2 piece contrast straps with faux leather: If you are doing the contrast straps, place right side together and sew up with a 1/4" seam allowance on both sides. Then turn right sides out. I topped stitched my straps, but warning, faux leather can be really difficult to top stitch. Don't finish ends of straps yet.
Just one piece linen straps: If just doing one piece of linen straps, then fold over with right sides touching. Sew raw edges. Turn right sides out. Do for both straps. Don't finish ends of straps just yet.
Step 3: Add Straps to Apron
Now you want to measure and readjust straps to fit you. This might be a good time to ask for someone to help you. Pin the straps in place as seen in diagram below. Readjust as needed. Move it over if it feels to close to your neck and bring the straps in if it is too long on you. Once it's adjusted properly, mark where each strap goes with a pin on the apron and on the straps. Take the straps and fold the bottom inside the tube and sew shut. Place strap back on the apron and sew where you had place it.
Step 4: Pockets
Fold the sides in first 1/4" and press, then fold another 1/4" press again. Then do the bottom the same. For the top of the pocket fold 1/2" and press, then fold another 1/2" and press. Top stitch JUST the top of the pocket.

Now about 14" from the top and 9" from the side, place one pocket. Do the same for the other one. Pin in place. Again, try it on and make sure this is to your liking. If so, sew the pockets in place on just the sides and the bottom. And that's it!
I hope this apron tutorial makes sense. I'd love to see what you make if you make one!


No comments
We LOVE hearing what you think. Thank you for your sweet comments!