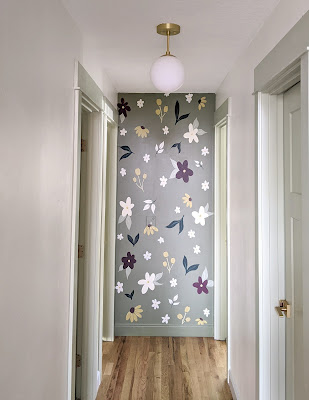
Paint any small wall, at the end of a hallway, with a simple floral wall painting design. Use a small projector to project a simple flower design onto the wall to make the mural painting process quicker. DIY Faux wallpaper as an accent wall is easier than you think. Learn how to paint a flower mural wallpaper below.
If you've been around for a while, you know I like painting flowers and nature on anything and everything I want. Especially walls. I love painting murals. But, most of the murals I have painted were left behind in our old house. Our new house has so many walls that are waiting and ready to be my canvas. And I'm itching to paint so many new murals.
You can see below my past murals:
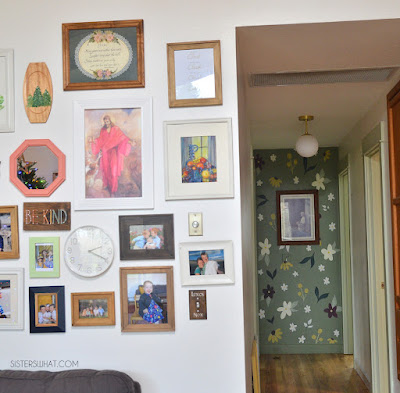
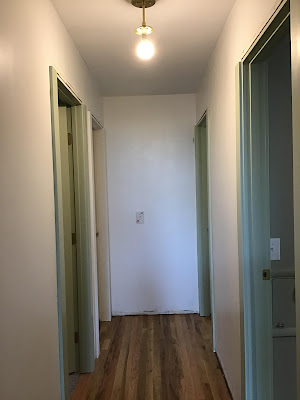
This flower mural would be the first in our new house. I decided that the end of our wall needed something extra. I thought a dark wall paper pattern would look really nice, but then realized that I could paint my own wall paper and it would be SO much cheaper. SO that's what I did. I love how it looks at the end of the hall. We even got pictures up on our main wall in the living and the flower mural compliments it so well from the living room.
The great things about painting your own murals versus buying wallpaper is that it can be so much cheaper than wallpaper and you did it yourself. The accomplishment is much better than the frustration of putting up wallpaper. I've done wallpaper and while I love how it looks in my bathroom, I must admit that I didn't feel as satisfied with it as I did after painting my murals. I think I'm just someone who gets so much satisfaction from DIY even if it isn't always the best. There is something theraputic about doing things ourselves.
DIY Faux Wallpaper Accent Wall - How to Paint a Flower Mural Wallpaper for Beginners
Supplies:
Projector (I have a cheap one)
Sample Paints
Step 1:
First I needed a design; Last year, I made some bookmark designs to go with our New Testament study and decided I liked one of the bookmark designs so much that it would make beautiful wallpaper. Please feel free to use the same design idea for your wall.
Step 2:
I took a picture of the wall and tweaked it how I liked on my procreate app, then I uploaded it to my computer and projected it on the wall. I probably didn't need to do this, but I wanted to go faster instead of trying to figure where all the flower went. After it was projected, I penciled the simple flowers on the wall.
Step 3:
After the general design was on the wall, I mixed some sample paints and regular acrylic paints I had on hand until I got the colors I wanted. I tried to focus on one color at a time, but I found that doing leaves first before flowers was easier to then paint over with flowers. This probably took me 2 days during my babies nap time to do.
This was such a fun flower mural to paint on such a small wall. It wasn't overwhelming because of the size and so I was able to do it quickly. I probably could have painted it in one go, but I was working around my babies nap time. I'm so happy how it turned out and can't wait to paint another one. I have plans for another one, but need to make it happen soon.
This post may contain affiliate links. Thanks for supporting Sisters, What!


No comments
We LOVE hearing what you think. Thank you for your sweet comments!